How to make your USB Devices Wireless
Do you want to connect your 3D printer or any other USB device to your computer when it is in another room or even on the other side of the world? Wireless USB to the rescue!
In this guide we will teach you how to make your USB 3D printer or any other USB device wireless with the help of a Raspberry Pi and a software called USBIP available for Windows and Linux.
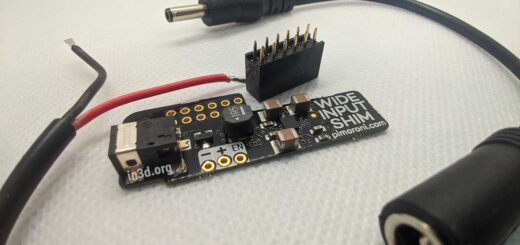
We will be using a Raspberry Pi Zero W as our USBIP server due to its low power consumption. Unfortunately the USB B port on the printer does not output any power so we still need an external power supply. Although it won’t be covered in this guide, It is also possible to power the Pi directly from the 3D printer using a Wide Input SHIM by PIMORONI.
What you need:
- A USB Device. (In this guide we will be using the Wanhao I3 PLUS MKII 3D printer.)
- A Raspberry Pi Zero W.
- A USB B to USB micro B cable. (This depends on what kind of USB port your printer is using.)
- A micro-SD card.
- External USB micro B power supply for the Pi Zero.
Installing Raspberry Pi OS on your Pi Zero.
We recommend that you use the official Raspberry Pi Imager.
Check out our guide for more information on how to setup and access your Raspberry Pi through SSH.
Install and setup USBIP
SSH into your Raspberry Pi and run the following commands:
sudo apt-get update Update package lists.sudo apt-get install usbip Install USBIP.sudo modprobe usbip-host Add USBIP Host to kernel.sudo usbip list -l Find the USB device you want to make wireless and copy the BUSID.sudo usbip bind --busid <busid> Add the USB device you want to make wireless using the BUSID you found above. (Replace <busid> with the BUSID of your USB device).sudo usbipd Start the USBIP Daemon.
When a USB has been successfully added you should see this message: bind device on busid <busid>: complete
Install the USBIP client and connect to your device.
Windows:
For Windows, we will be using a more modern version of USBIP called usbip-win. Based on the original project and created by KyungWoon Cho.
Download usbip-win from here and extract it to your computer.
Open a Windows command promp as administrator and navigate to your USBIP directory by using cd. Example: cd C:\Users\a\Downloads\usbip-win-0.3.6-dev
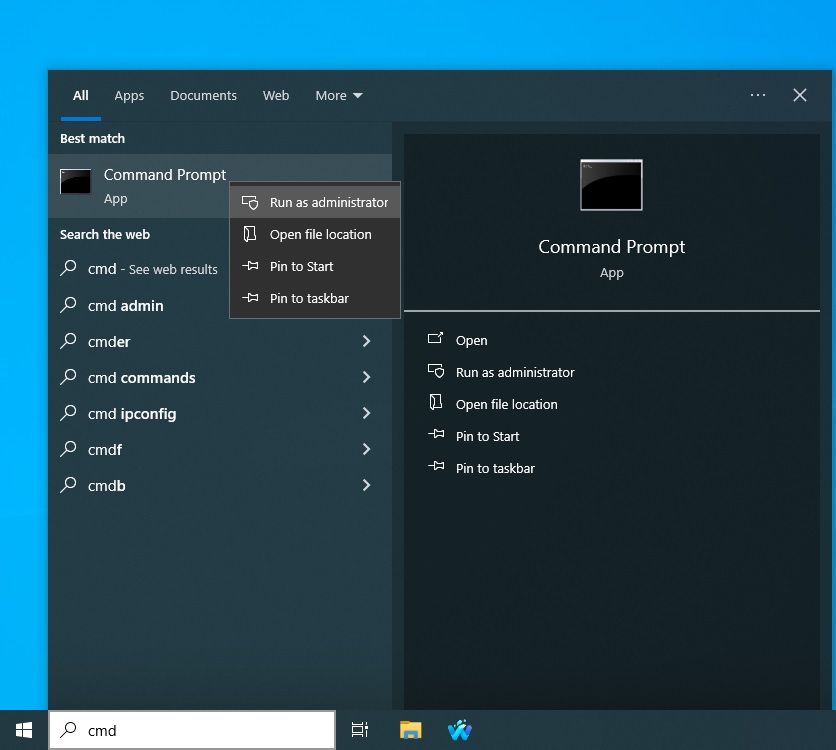
Run the following commands to install the USBIP client and connect your device.usbip.exe install Install USBIP driversusbip.exe attach -r <the RPi IP-address> -b <busid> Attach wireless USB device.
Example:

Sometimes you have to connect your USB-device physically to the computer once so that Windows will recognize it and download the necessary drivers.
Linux:sudo apt-get install usbip Install USBIP.sudo modprobe usbip-host Add USBIP Host to kernel.sudo usbip list -r <the RPi IP-address> Export a list busids of your connected devices.sudo usbip -d attach -r <the RPi IP-address> -b <busid> Connect to the USB device.sudo lsusb Check the USB list to make sure your device is connected.
Time to test the wireless USB
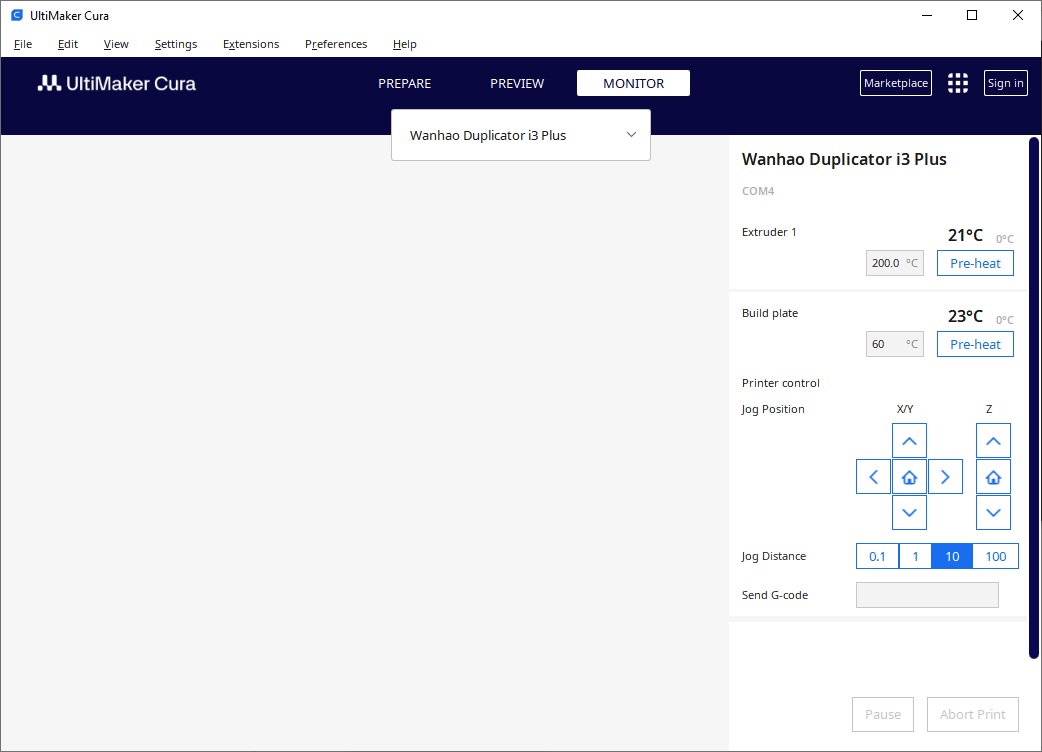
Open Cura and and see if you can control your 3D printer from the “MONITOR” tab in cura.
