Reviewing the Anycubic Photon Mono 2 3D Resin Printer
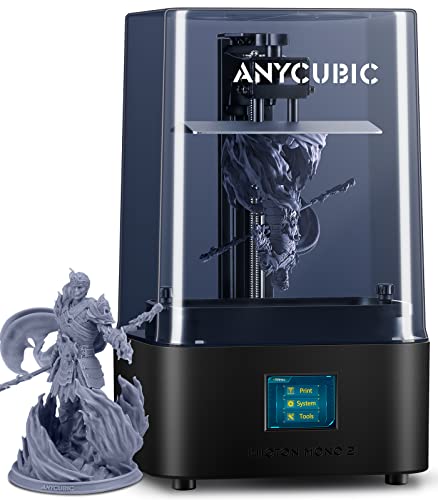
Anycubic is one of the biggest names when it comes to 3D printers, and they have continued to improve on their previous designs with the latest Photon Mono 2. Competition is high in the market, and Anycubic plans to take the top spot with their latest innovations.
If you are new to resin printing, the Photon Mono 2 is designed keeping you in mind. In this review, we will be talking all about the features of the Photo Mono 2 and focusing on the biggest question on everyone’s mind: Is it any good?
How Does a Resin Printer Work?
Before we discuss Anycubic’s latest printer model, let’s focus on how it actually works. This thing is literally made for beginners, so they need to know how to work it. It’s a simple process, but there is a lot to learn.
The first step to working with a resin printer is making sure the print bed is level and filling the vat with enough resin. Then load your model and start printing, after which the printer covers the print bed with a liquid resin. This spreads across the entire bed, ensuring consistent thickness to prevent any air bubbles. After all, we don’t want our designs to be ruined by some air. By following through with a U.V. laser, the liquid is solidified. This is how you end up with the hard 3D figures. This is repeated multiple times, and the print bed raises continuously. Eventually, you will be left with an upside-down solid 3D model!
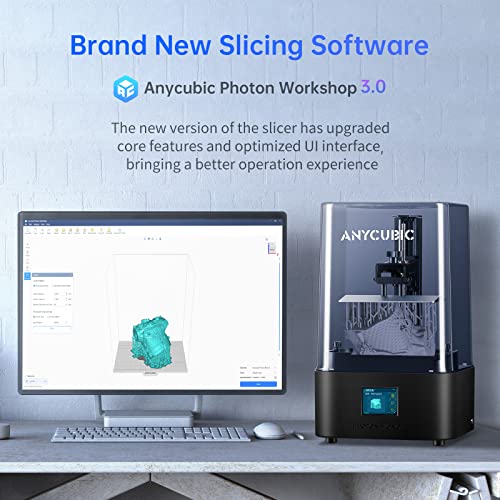
Overview of Photon Mono 2 Features
Now that we have figured out how the printer works; let’s talk about why this product is worth buying, starting off with its specs:
- Printer volume: 6.5×3.5×5.6″ / 165×89x143mm. (HWD).
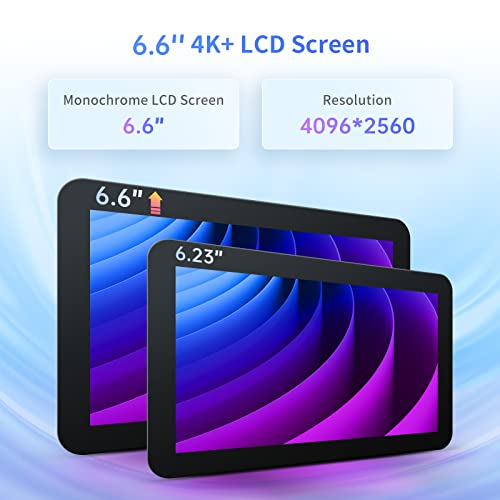
- Screen Size: 6.6-inch 4K LCD.
- Light Source: Parallel Matrix
- 2.8″ TFT touch-control panel
- Connection: USB 2.0 Type-A
- Weight: 8.8lb/4 kg
- Machine Footprint: 15.4×9.01×9.25″ / 390x229x235mm. (HWD).
Great Printing Quality
Before you do anything, test the printer out and calibrate it. That’s what we did with the Anycubic RERF, which is short for Anycubic Resin Exposure Range Finder. The level of detail on the design was impressive and we weren’t expecting that. Simply put: The end result was great! Just a piece of advice from us: Make sure you do a test run before you start working on your projects in order to find the optimal exposure time.
Wonderful User Interface
Menu navigation is simple. You will not be needing any prior knowledge to learn how to work your way through the printer. Let’s not forget; it was made for beginners. You can see that by looking at the touchscreen LCD. That is a big positive if you ask us!
Easy Calibration Process
We all know setting things up can be a little difficult, but that is not something you have to worry about. Don’t forget, this model was made to make beginners feel like experts too! The first thing you have to do is set the leveling of the bed. This is done with a wrench and a piece of paper. It is okay if you are a little confused about what to do: Just pick up the instruction manual. If that doesn’t help, head on over to YouTube.
After that, calibration is completely automatic! To get started, just direct the build plate to the Z axis and adjust it using the screw. Then click on the tools option from the touchscreen and hit “Move Z” and the “Home button”. Now, just sit back and watch as the magic happens on its own!
Simple Setup Process
The best part about the printer is that almost all of it is assembled beforehand. We barely had to do anything. The only step you have to take is getting rid of the screen protector and replacing it with the spare one. Follow that up by just attaching the build plate, and voila! The printer is completely set up.
Unboxing the Photon Mono 2
And that brings us to the end of the printer’s features. So, let’s move on to unboxing our little present. Before that, we want to talk about how well everything is packaged. It was a real treat to see. With all the protective foam and covering over the device, you don’t have to worry about your printer being damaged during shipping. However, you do have to worry about the mess that will form when you’re opening it up. So, let’s see what is inside the box:
- The Printer itself.
- Metal Resin Vat.
- Blue Lid
- Plastic and Metal Spatulas.
- Protective Gloves.
- Screen Protector Kit
- Instructions Manual.
- Hex Key Set.
- Leveling Paper.
- Printing Bed.
- Power Adapter.
- Protective Mask.
- USB Drive.
Cons of the Photon Mono 2
Ultimately, the Photon Mono 2 has a lot going for it. But not everything is perfect; especially a budget-friendly 3D printer. Keeping that in consideration, here are some things that we did not like to see during the test run:
Not Fully Stable
You never want to invest in something that can’t sit up straight. When we say this, we don’t mean that the printer will tumble every time you place it somewhere. No, that’s not it. We are just trying to say that the bottom is just a little slippery. So, as long as you place it on a proper flat surface, your printer will be perfectly fine!
Extremely Lightweight
We know this is not the biggest or worst problem to have. After all, the lighter it is, the easier it is to carry it around. And that is good! However, we are not used to printers as light as this one. It just doesn’t sit right with us! Especially because it feels a little cheap.
Final Thoughts
And that brings the review to an end. Before we say anything else, let’s answer the question you all have: Is this model any good? Yes, yes and yes! The Photon Mono 2 is a steal if we have ever seen one. Designed to be used by beginners, it is a perfect investment for anyone looking to start 3D resin printing.
Its may be possible to turn this printer into a wireless printer with the help of a Raspberry Pi. Check out our Wireless USB guide.

