How to configure Cura
Cura, originally developed by David Braam in 2014, is a open-source slicing software currently owned by the 3D printer manufacturing company Ultimaker.
Used by over one million around the world while running 1.4 million print jobs per week, This slicer is probably the most popular option when it comes to slicing models into g-code.
In this guide we will go through the steps of installing and configuring Cura for your 3D printer.
Download and install Cura
Download and install the latest version of Cura from their website here.
First setup
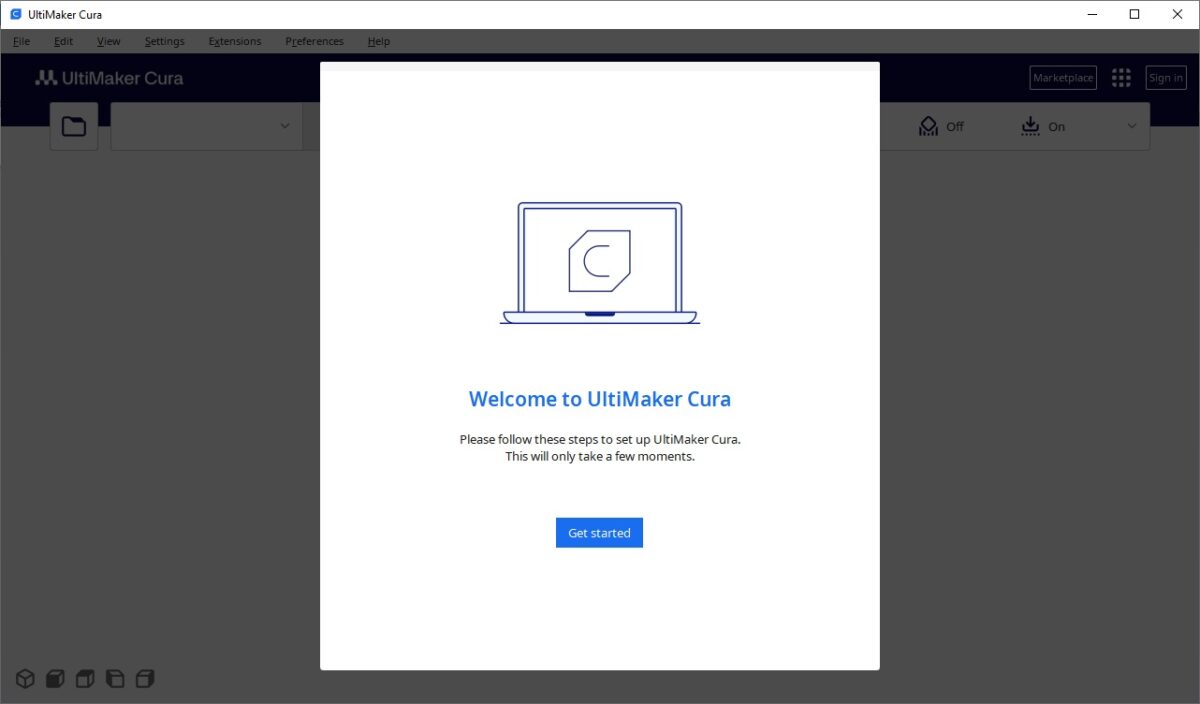
Now that you have installed Cura, it’s time to go through the first installation steps.
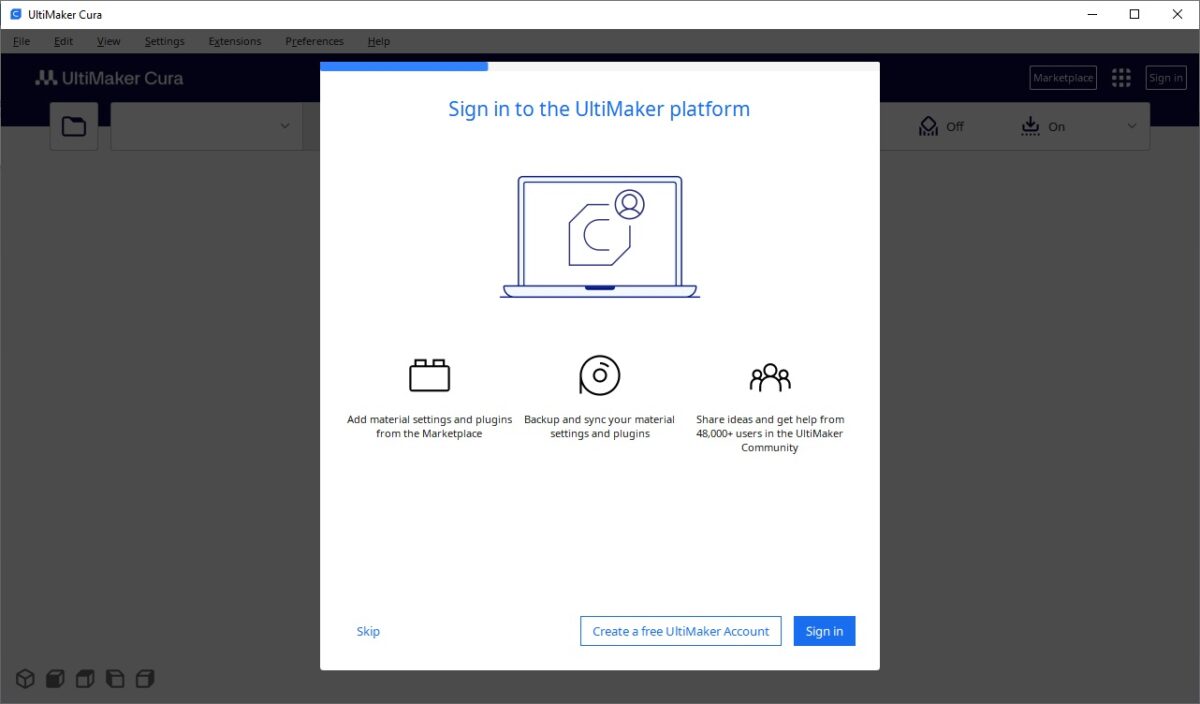
One of the first choices you will be presented with is whether you want to sign in or not. Signing in will give you access to backup and sync features which is very useful if you want to use the software on different computers. You will still be able to download materials and plugins from the marketplace without signing in, this may change in the future.
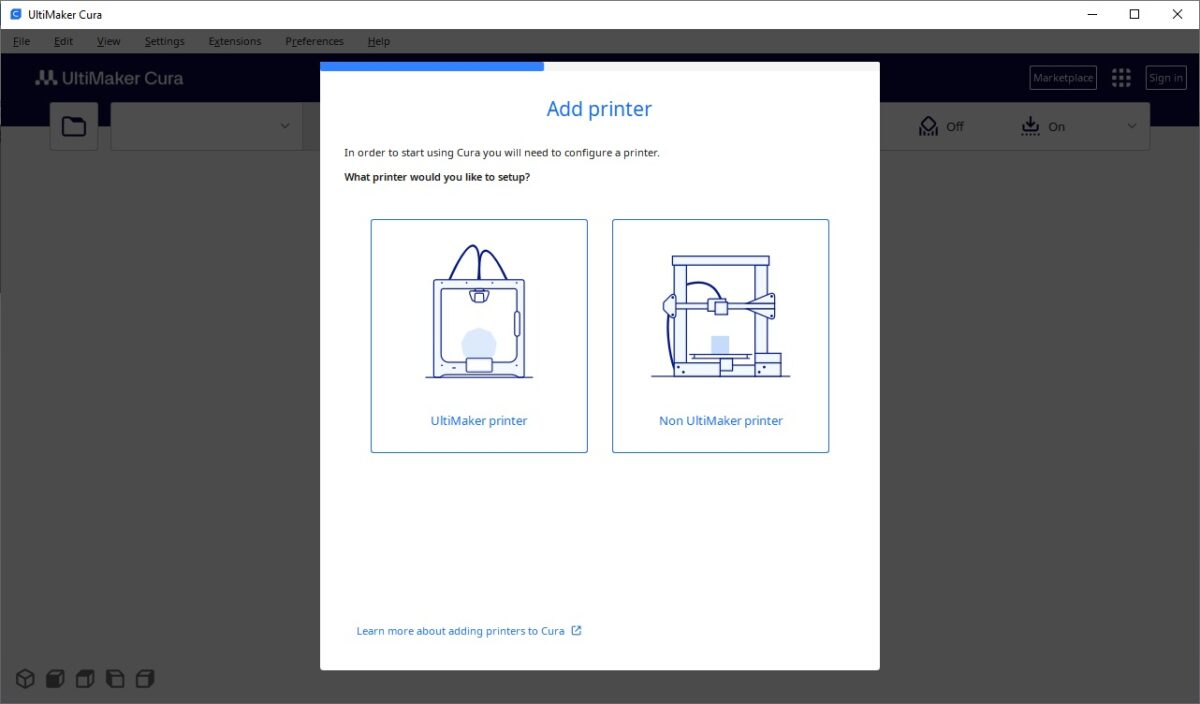
Now it is time to add a printer. If you have an UltiMaker printer, select that option. Otherwise select Non UltiMaker Printer to see if your printer is supported.
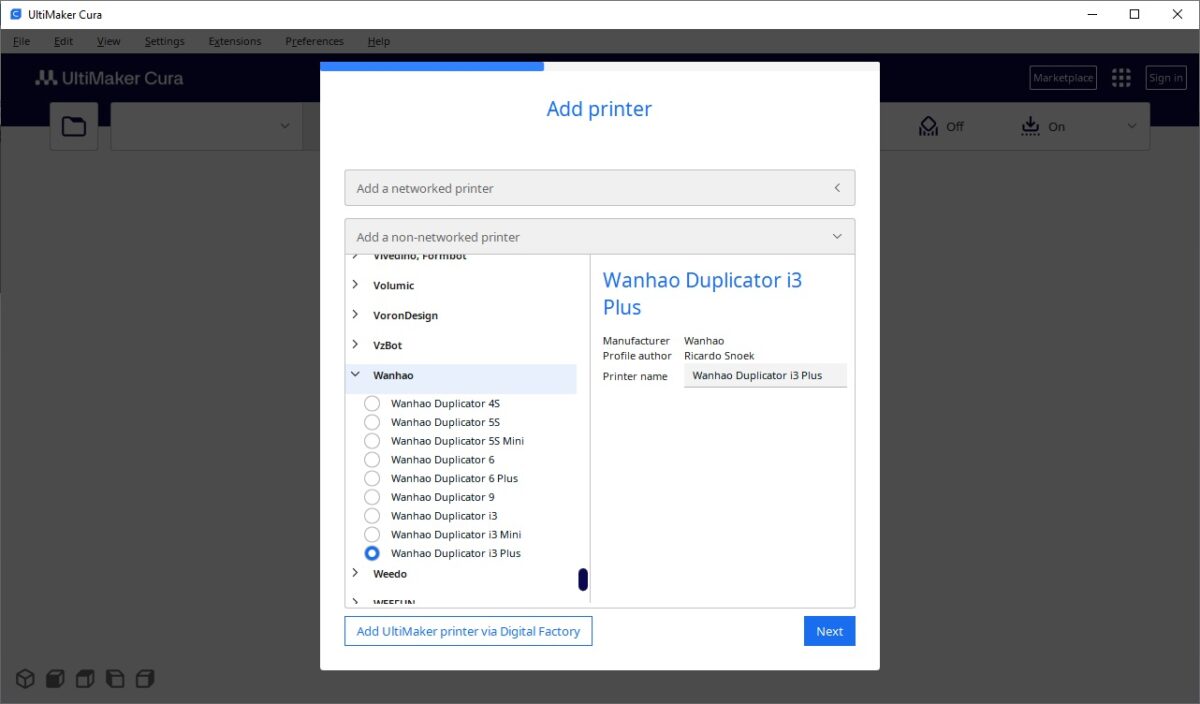
Lets try to find the printer you want to add. If you have a networked printer, it should show up in the list. Otherwise find your printer in the list of non-networked printers and add it. We will add a Wanhao Duplicator i3 Plus.
Want to turn your USB 3D printer into a wireless one? Have a look at this guide!
Well done! You are now done with the first installation steps and have added your printer.

